I wanted to share this monotype printmaking project we teach during Animals, Art and Imagination, a mixed-age summer class we host here at The Carle every summer. Monotype means one-of-a-kind and if you've ever tried this style of printmaking before, then you know how playful and open-ended a medium it can be for making marks and layering colors. It's a great project to try whether you're doing a lesson on the color wheel or just looking for a rainy afternoon activity at home with your family. Very few supplies are needed to get started.
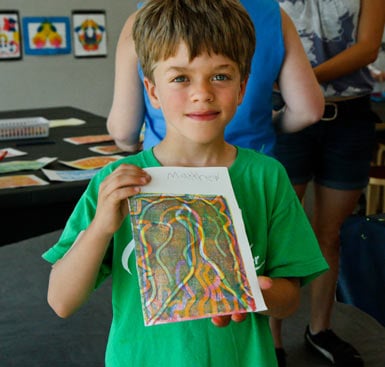
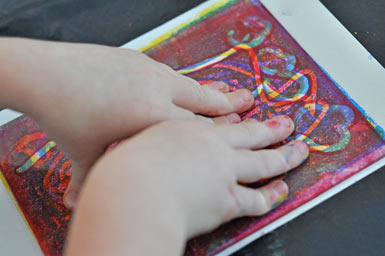
In this exercise we rolled ink on plexiglass plates in the primary colors (blue, yellow, and red). When we printed the single-color plates on top of each other, a magical thing happened. In the places where those colors overlapped on the paper, the secondary colors (green, orange, and purple) suddenly appeared. Okay, it's not exactly magic, but printmaking always has a super surprise factor -- you never know quite how things will turn out, and to kids especially, that's pretty magical!
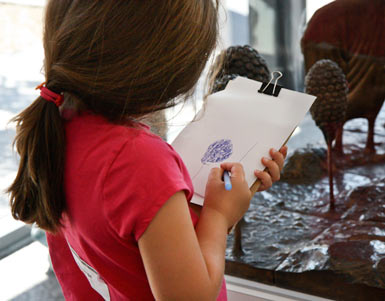
Let me backtrack to earlier in the day, prior to the printmaking lesson. As a mark-making warm-up, we introduced the students (ages 6-10) to The Museum's sculpture Imaginary Garden by Leo Lionni, which lives in the Great Hall, encased in glass.
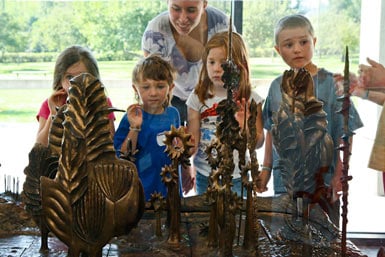
They had a discussion about what they saw going on in the large landscape, and then sketched the parts of the sculpture that interested them the most on small clipboards.
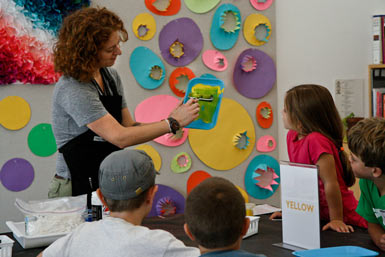
When the group returned to the Studio, I gathered them around and gave an introduction to the color wheel and how the primary colors mix together to make the secondary colors. I also demonstrated how to use the materials and tools found at each station around the room.
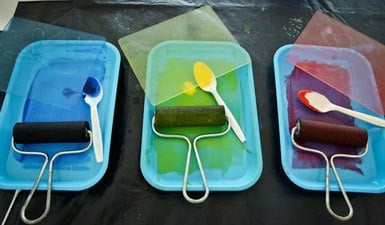
I assigned a random color order to each child to help everyone move from station to station to make an even flow around the room without crowding. When they got to their first station, everyone rolled the ink onto the small plexiglass plates in their first color: red, yellow, or blue.
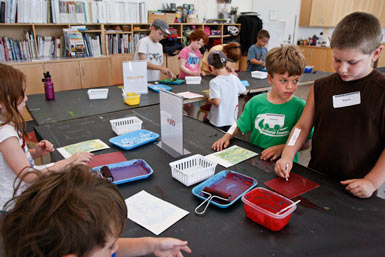
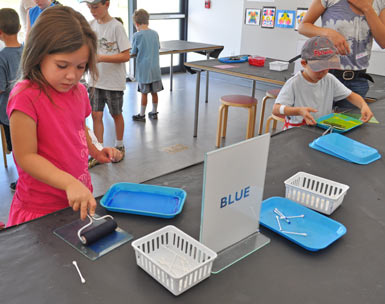
Next, they used one of the cotton swabs to make marks and remove areas of the ink. I asked them to think of things growing in nature for inspiration. A variety of tools can be used to remove the ink from the plate: combs, forks, found materials, or basically anything pointy. I kept it simple and provided cotton swabs for this activity.

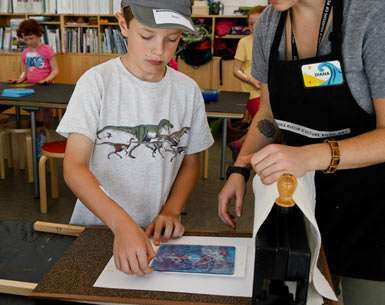
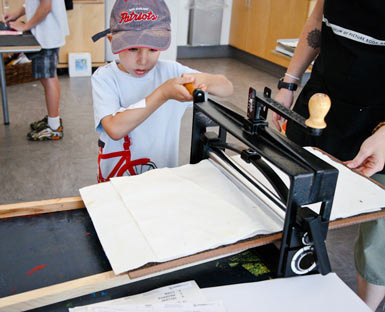
After mark-making they carried their inky plate over to the printing press station where I helped them run their plate and a piece of paper through our tabletop press. I made sure the pressure was set and handled the press blankets so they didn't get covered in finger prints and they were in charge cranking the handle. If you don't have a press you can just as easily hand press with pressure from rubbing your hands on the back of the paper into the inky plate.
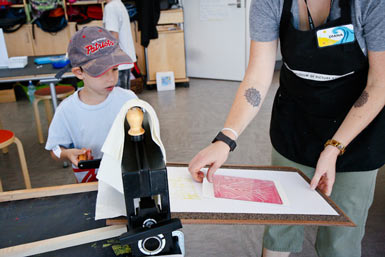
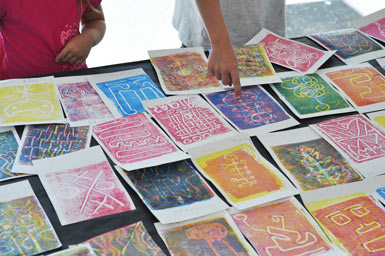
The last step was to return their plexiglass plate to a tray to be reused, and write their name on their print and leave it to dry. One of the best things about this process is how quickly the work dries on a table or rack.
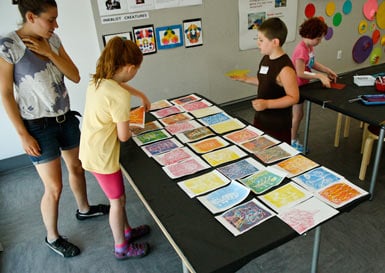
They repeated the whole cycle until they had overlapped all three colors on one piece of paper.
I asked them to make at least three complete prints during the 45 minutes we had for this project. We easily could have continued for an hour (or more!) since the different steps kept the kids really engaged. Everyone had a handful of colorful prints to take home at the end of the day.
Here is the list of materials I used for this project:
• Tabletop Printing Press, The Studio has this one. Hand printing works fine if you don't have access to a press
• 3mm plexiglass cut down to about 7" x 5.5" with rounded corners (we have a set of about 30 little plates, but you could get away with 15 or 20)
• Akua Kolor Slow Drying Watercolor in Crimson Red, Phthalo Blue and Hansa Yellow (you can use tempera paints instead if that's what you have)
• Speedball Screen Printing Transparent Base 32 oz. or gallon (use Nasco's Tempera Extender instead if you're using tempera paints)
• 4" foam brayers -- at least 6, I prefer using the foam rollers over the rubber rollers for this activity
• Small trays for rolling out the ink at each station (I suggest 2 rolling trays per station)
• 3 plastic deli containers with lids
• 3 plastic spoons
• A stack of drawing paper cut down to a little larger than the plate

To mix the colors for printing, put a few scoops of the transparent base (big scoops if you're mixing for a large class) in a deli container and stir in several drops of the Akua Kolor until you get the level of transparency you like.
Repeat the process for the other two colors. You want plenty of transparent base so the colors will blend when overlapped, but you don't want to add so much that your colors aren't vibrant if you print them alone. Test out what you've mixed by brushing it onto a piece of paper. The colors can be mixed ahead of time and stored in the deli container for several days in a cool, dark place. For rolling, spread a spoonful of the ink mix across the top of the tray and use the roller to spread the ink evenly in the tray. I suggest keeping adults in charge of adding more ink to the trays, since kids tend to add more than they need and the roller can get too gloppy. Click here to see our other printmaking ideas. One of my favorites (besides monotypes) is making pasta machine prints.
Have a great week!
