Inspire creativity and learning with these simple but engrossing activities. You probably have most of the materials on hand already!
Rolled Candles
What you need:
- Sheets of solid or honeycombed beeswax
- Braided wicking
- Ruler
- Utility knife
- Butter knife
- Scissors
Directions:
To start, help your child cut your sheets of wax to the height and size she wants — the wider the sheet, the fatter the candle will turn out. Then cut lengths of wicking 1/2" longer than each candle's height.
Next, warm the wax and make it pliable. Your child can do this with a hair dryer. You can also heat the sheets on a radiator or in the oven, but using a hair dryer is more fun and allows your child to heat the sheets piece by piece as they're being used.
Once the sheet is warm, have your child press the wick firmly along one edge, with the extra sticking from what will be the top of the candle. Fold the wax edge over the wick and press it down until it's sealed in.
Now she's ready to roll! Aid your child in rolling her candle, making sure it's tight enough and that the top and bottom edge stay even. To finish, warm your butter knife with the hair dryer (or by running it under a hot tap), and have your candle-maker gently press the seam until it blends in. Finally, prime the wick by pressing a tiny bit of wax on it. Now it's ready to light!
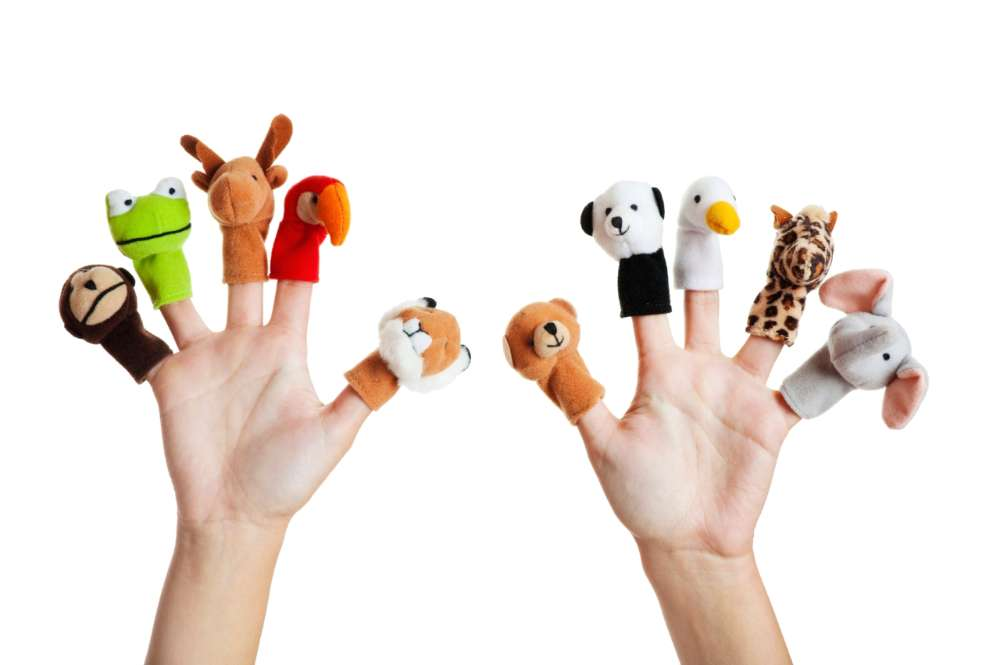
Sock, Mitten, and Glove Puppets
What you need:
- Unpaired socks
- Mittens and gloves
- Heavy yarn
- Buttons
- Colored felt
- Permanent markers
- A large sewing needle
- Scissors
- Chalk
- Glue
Directions:
Save those unpaired socks, single mittens, and lonely gloves from abandonment by making them into lovable, adorable puppets. Not only will your child enjoy making these puppets, he will also love playing with them and putting on puppet shows.
To make, have your child put on the sock, mitten, or glove and imagine what kind of animal, real or fanciful, he thinks is waiting to emerge. While he's wearing it, ask him to point where things like the eyes or hair should go and mark them with chalk. When he's satisfied, take it off and place it in a workspace.
Decorating the puppet depends on how old (or how ambitious) your child is. For younger children, drawing faces and clothes on with permanent markers is great. Slightly older children can cut pieces of colored felt for eyes, scales, and noses and glue them in place. If your child is old enough to use a needle and thread, he can sew on button eyes or tuft up some yarn hair.
Feed the Birds
What you need:
- Pinecone
- Birdseed
- Creamy peanut butter
- Yarn or ribbon
- Scissors
- A butter knife or plastic knife
- Wax paper or newspaper
Directions:
Make a birdfeeder with your child, and enjoy the visits from colorful feathered friends together. In fact, with a simple and cheap pinecone birdfeeder, you can make several and hang them in view of every window in your house!
Tie the ribbon or yarn near the top of the pinecone so it can be hung. Then put the pinecone on the wax paper or newspaper, and let your child spread the peanut butter inside each nook of the pinecone. Next, have her pour some birdseed over the pinecone, and then spread more peanut butter over it. Afterward, she should roll her pinecone in birdseed until it is well covered. Now she's ready to hang her birdfeeder and hear the sweet song of birds saying "Thank you!"
