Halloween Crafts for Kids: Mummified Apples

Got apples? Try a simple science experiment this spooky season that teaches kids all about dehydration.

Oct 18, 2018

Ages

5-13

Halloween Crafts for Kids: Mummified Apples

Oct 18, 2018

Introduce your child to this spooky science project for Halloween — or any time of the year! Dehydration is an ancient method for preserving everything from food to mummies. Using salt and baking soda, your child can carve and dehydrate (dry out) an apple to create mummified fruit.

Salt is a desiccant, which is another word for a chemical that’s good at pulling water out of other things. Not only does it speed drying, it kills any microbes that might cause the apple to spoil.  

What You’ll Need

flex_image
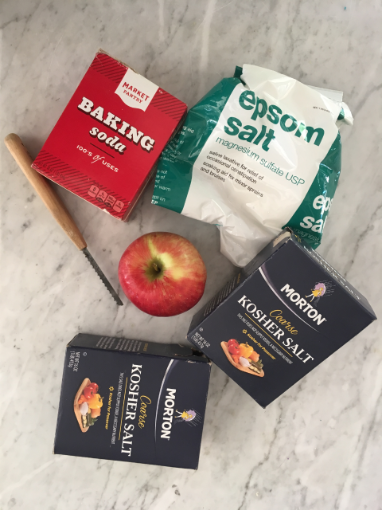
  • A recycled container that can hold the apple and some salt
  • A large container of table salt, sea salt, Kosher salt, or rock salt
  • A box of baking soda
  • Epsom salts (Optional. Can be purchased at any pharmacy.)
  • A pumpkin carving tool (optional)
  • Toilet paper to wrap your “mummy”
  • Kitchen scale (optional)

Safety Tips and Hints

Pumpkin carving tools are nice because they’re relatively safe for little hands, but if you don’t have one, an adult can carve a face in an apple using a sharp knife.

Don’t let kids eat Epsom salt.

What to Do

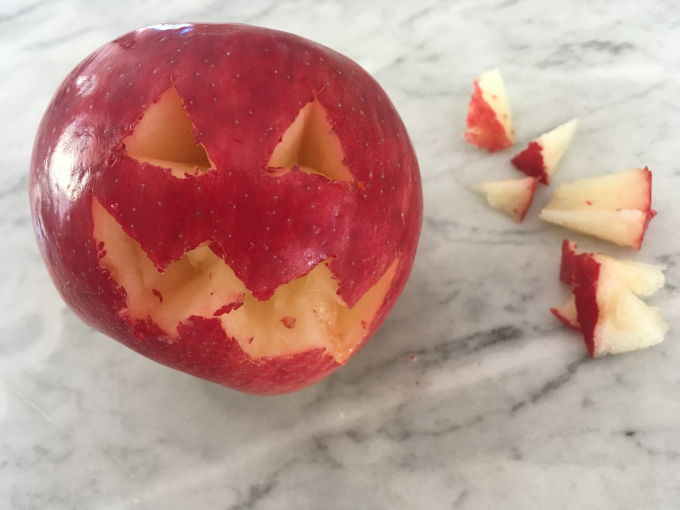
Step 1: Help your child carve a face in each apple. 


flex_image
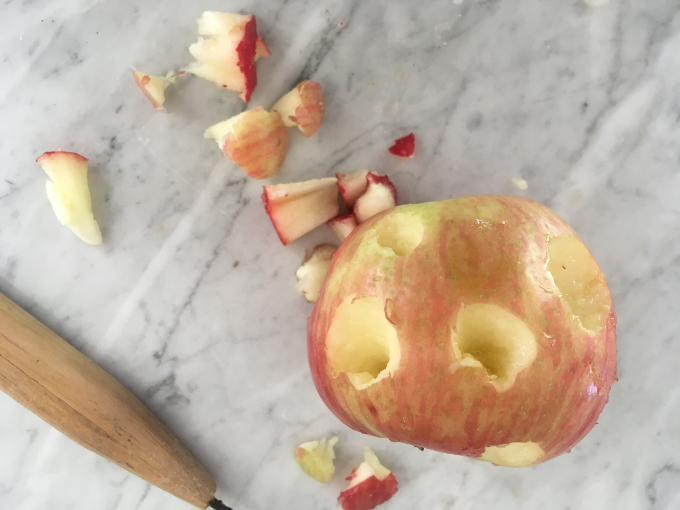
Step 2: Let your child create holes all over the apple mummies so that moisture can escape. Core the apple to speed drying (optional).
flex_image

Step 3: If you have a kitchen scale, ask your child to weigh the apples and record their weights to keep track of how much water they lose. 


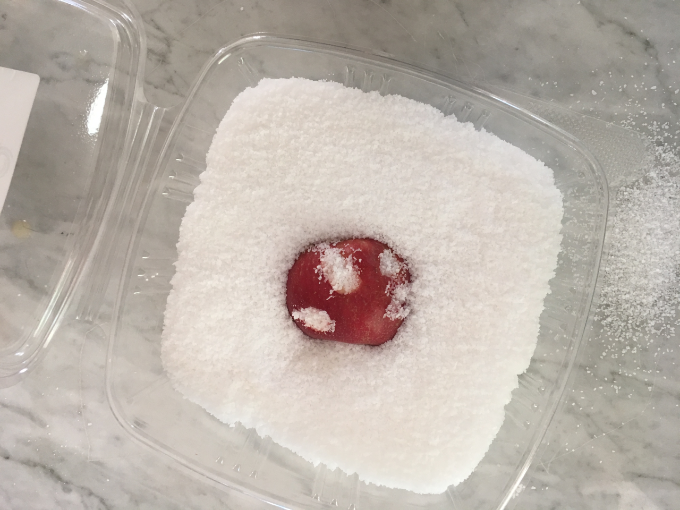
Step 4: Fill one container with enough salt to completely cover an apple. Label it with the date, the apple’s starting weight and write “salt” or “NaCl” on the container. Ask your child to put one of the apples in the container and cover it completely, packing salt into all of the holes. Close the container.


flex_image
Step 5: Let your child fill the other container with equal parts table salt and baking soda (and Epsom salt, if you have it.) Mix the salt well, label the container and let your child cover the other apple mummy with the salt mixture.
flex_image
Step 6: If your child likes art, encourage him to decorate the containers as Egyptian sarcophagi. Look up photos online if you need ideas. Alternately, wrap the containers in toilet paper to look like mummies. 
flex_image

Step 7: After a few days, remove the apples, scrape out the salt and weigh them. Record their weight and return them to the salt. Check them every few days and continue to dry them in salt until they are shriveled up. Replace the salt with dry salt if needed.

Enrichment

How long did it take to mummify the apples? Which salts worked best?

Test apple slices in different salt mixtures to see which of them is the best desiccant. What keeps mold from growing?  What preserves the apple’s color best?  Which salt mixture keeps the apples from smelling bad?

MORE: Make Alien Monster Eggs for the Spooky Season

The Science Behind the Fun

flex_image

In Ancient Egypt, natron was used to preserve mummies. Natron is a natural salt mixture containing the chemicals sodium carbonate, decahydrate (soda ash), sodium bicarbonate (baking soda), sodium chloride (table salt), and another salt called sodium sulfate.  

These salts act as desiccants, which are chemicals that removes water from things. They also have anti-microbial properties, so they keep bacteria and fungi from growing. 

The Egyptians dried mummies in natron inside windy tents in the dry desert air for 40 days before wrapping them for their final burial.

----

You'll find projects like this one featured in Liz’s new book STEAM Lab for Kids: 52 Creative Hands-On Projects Using Science, Technology, Engineering, Art and Math (Quarry Books, 2018).


Shop for Science Activities & Fun Books

Activities
The Learning Toolkit Blog
Science projects
Age 13
Age 10
Age 12
Age 11
Age 9
Age 8
Age 7
Age 6
Age 5
Halloween