
Playing with glow sticks is a fun, hands-on way for your young scientist to see how energy can be transformed from stored chemical energy to light energy. By simply submerging the glowing sticks in water your child can observe how brightness produced by the chemical reaction changes, depending on temperature. Here's how:
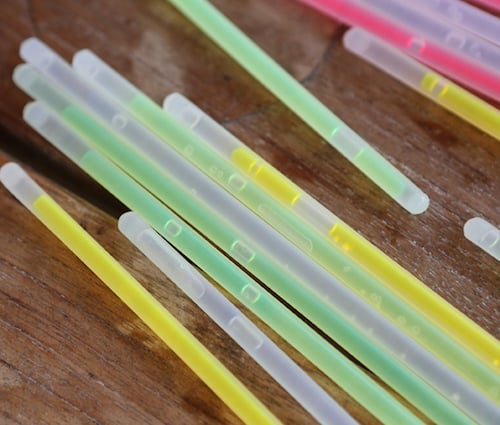
- At least 3 glow sticks that are the same size and color
- 2 foam cups
- A thermometer (optional)
- Ice
- Kitchen tongs
- Permanent marker
What to Do
Step 1: Give your child a glow stick to observe. Ask what she sees when she looks at it closely. Tell her that the bubbles contain chemicals.
Step 2: Fill one foam cup with hot water from the tap.
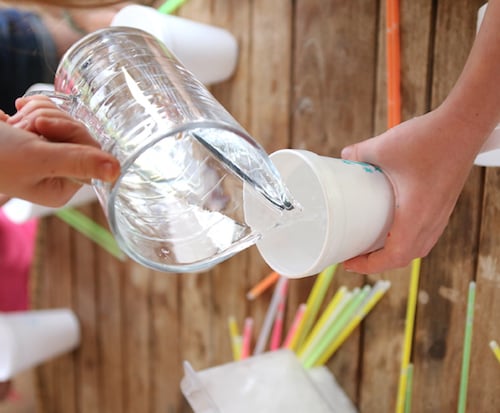
Step 3: Have your child add ice to a second cup and fill it with cold water.
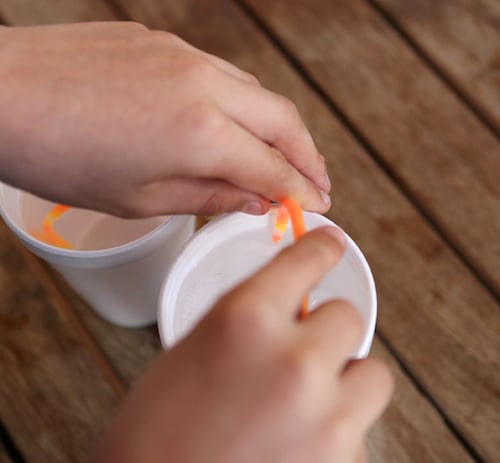
Step 4: Use the permanent marker to label one stick “hot,” one stick “cold,” and the third stick “room temperature.”
Step 5: Let your young learner bend each of the three glow sticks until it cracks (to activate it). Have her shake the sticks up to mix the chemicals inside together.
Step 5: Ask whether she thinks a glow stick will glow brighter in hot or cold water.
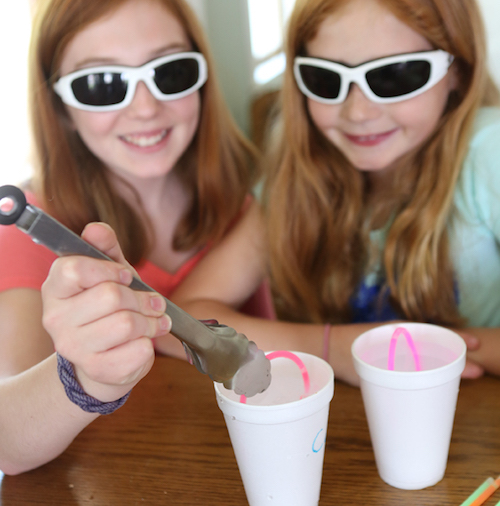
Step 6: Use the tongs to place one glow stick in the hot water and one in the ice water. Leave the third glow stick on the table. (Sunglasses are optional, just for fun!)
Step 7: Help your child set a timer for three minutes and ask her to observe the glow sticks to see what is happening.
Step 8: After three minutes, remove the glow sticks from the water and place them side-by-side on the table with the room temperature glow stick. Ask your child if she can see a difference between them.
Step 9: Have your child put the sticks in order from brightest to dimmest. Was her guess correct?
Step 10: Optional: Let her test the same thing using different colored glow sticks to see whether some colors glow brighter than others.
Enrichment
Crack two glow sticks to activate them. Put one in the freezer overnight. Leave the other one at room temperature. Compare them the next morning.
The Science Behind the Fun
Stored energy is called potential energy. Glow sticks contain potential energy in the form of chemicals: fluorescent dyes and a chemical called hydrogen peroxide. No light can be released until the chemicals are mixed together.
When you mix the chemicals together by cracking the glow stick, they react to make new chemicals and release excess energy in the form of light, transforming chemical energy into light energy. How brightly the sticks glow depends on the temperature of their environment.
Adding heat to a chemical reaction makes it happen faster, so adding heat to a glow stick makes it produce more light energy for a short period of time. However, a colder glow stick will glow longer since it’s reacting and releasing light energy more slowly.
---
You can find more experiments like this one at kitchenpantryscientist.com, and in my books Kitchen Science Lab for Kids (Quarry Books), Outdoor Science Lab for Kids (Quarry Books), and my upcoming book STEAM Lab for Kids: 52 Creative Projects Exploring Science, Technology, Art and Math (available wherever books are sold).
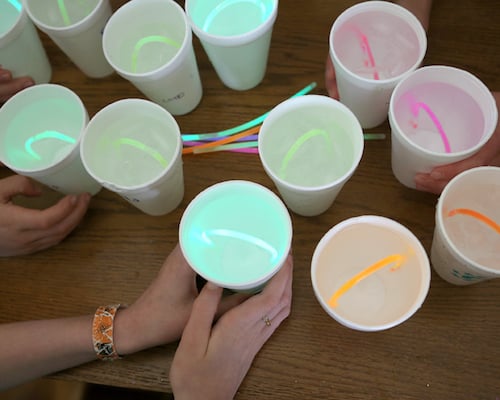
All photos © Energy Lab for Kids (Quarry Books 2017)
