Whenever we do stamping projects in the studio we usually use stamp pads we've made ourselves. Homemade stamp pads are less expensive than store-bought and allow us to customize their size and the type of pigment we use in them.
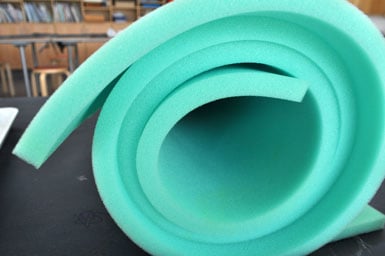
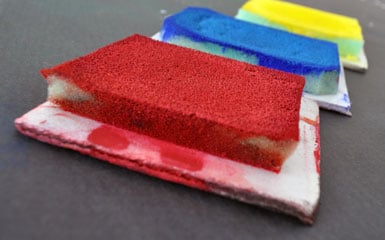
To make our stamps, we use upholstery foam, a polystyrene (like Styrofoam) tray, and a hot glue gun. Upholstery foam is sold by the yard at fabric stores, and sometimes in packages at craft stores, and it's worth the effort to find a coupon if you're going to use it and purchase a lot. It doesn't need to be super-dense or thick, maybe 1/2" or 3/4". A fine and less-expensive alternative are dish sponges.
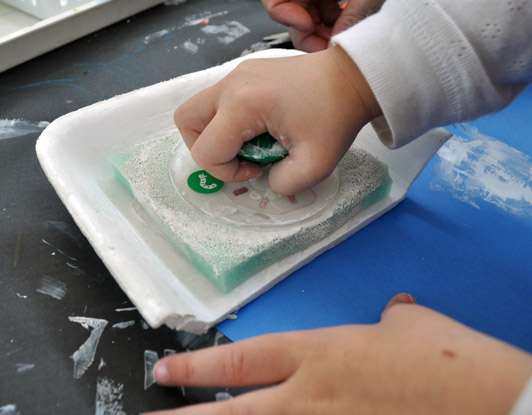
Hot-glue a piece of upholstery foam (or a sponge) to the polystyrene foam tray or a dessert-sized plastic plate. The tray should be just larger than the foam, and the foam should be just larger than the stamps you plan to use.
Use a plastic spoon, palette knife, or spatula to smear tempera or other water-based soluble paint into the upholstery foam. The first time you load the pad, it will take a fair amount of paint. Now it's ready to use. Easy, right?
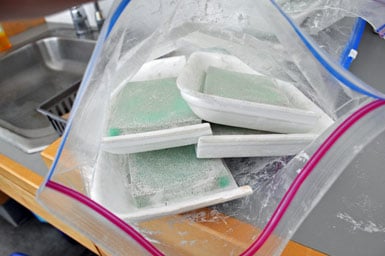
If you plan to use the stamp pad the next day, just slip it into a zippered bag to keep moist. Let it air dry with the paint on if you won't be using it again within a few days. Mold will grow if on a wet stamp pad if it's left too long in a sealed bag. When you're ready to use the stamp pad again, just spritz it with a little water and add more paint.
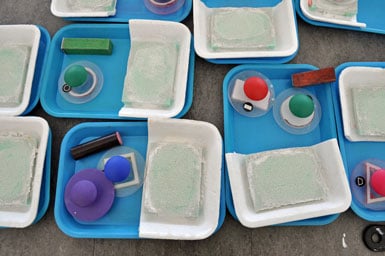
If you've been to the studio you know we offer a specific selection of materials to explore and we arrange multiple sets of those materials around the room so they are available to whoever stops in to experiment. When we include stamp pads in our projects we usually use just one color in all the stamp pads. That's so they don't all end up turning brownish-black from the stamps traveling around the room. Kids usually notice color attributes before shape or pattern, so by keeping the stamp pads to a single color, the shape and pattern could share the spotlight with color. We did also offer colored pencils in this project so that more colors could be included in our guests' designs.
We've used traditional black ink stamp pads in projects before, but we find they work best for smaller, rubber stamps. They aren't ideal for our large round-handled stamps. They also make parents of young children nervous with all their blackness and permanence, so we try to avoid setting up our guests for stress about non-washable messes. Kids do love the drama of black, but that's a subject for another time.
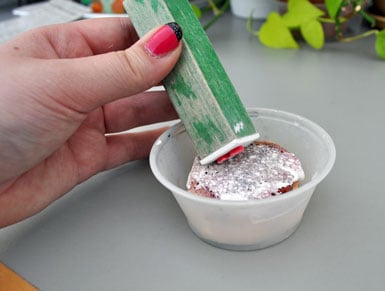
We use a lot of different kind of stamps in the studio, some are purchased through art and school suppliers, but many are home made. Check out our posts Make Your Own Foam Stamp for some home-made stamp ideas.
