This kids' project is simple and creative.The crystals grow overnight! (If you don’t already have Borax in your pantry, definitely pick some up at your local grocer or a discount store for this and future science experiments with your kiddos, like homemade slime.) This fun, adult-supervised activity will allow your kids to create their own Christmas tree ornaments or holiday decorations.
What You’ll Need
- 3 cups water
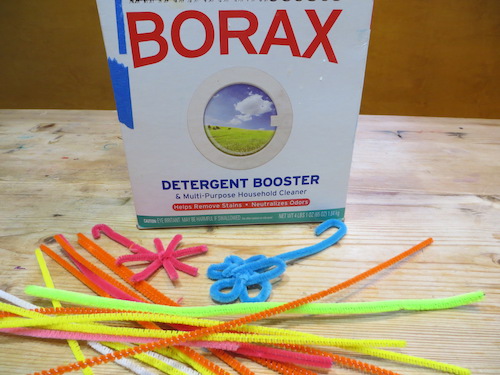
- 10 tablespoons Borax detergent,
- Pipe cleaners (the amount depends on how many you wish to make)
- 1 Jar (or more if you wish to make more ornaments)
Safety Tips
- Always supervise younger children around Borax to be sure they don’t eat or drink it.
- To avoid burns, dissolve the Borax in hot water and allow it to cool before use.
- To make more ornaments, double the recipe to make enough Borax solution for two or three jars.
How to Make the Ornaments
Step 1: Ask your child to measure 10 tablespoons of powdered Borax detergent into three cups of warm tap water in a large jar. (It doesn’t have to be exact.) Stir.
Step 2: Microwave the Borax and water solution for a minute at a time. (You or another adult should do this step.) Stir periodically until all or most of the Borax dissolves. Let the solution cool to a safe temperature.

Step 3: While the Borax cools, help your child bend pipe cleaners together to form snowflake shapes. It’s helpful to start by crossing two pipe cleaners and bending them over one another, but be creative!

Step 4: Let your child cut the 'arms' of the snowflake so that they’re somewhat even, and the snowflake will fit inside the jar. Leave one arm of the snowflake long and bend it as a hanger, or twist on another pipe cleaner to create a hanger.
Step 5: When the Borax solution is cool enough to be safely handled, your child can gently immerse the ornament in it. Hang it on a pencil or another pipe cleaner to prevent it from falling into the jar.

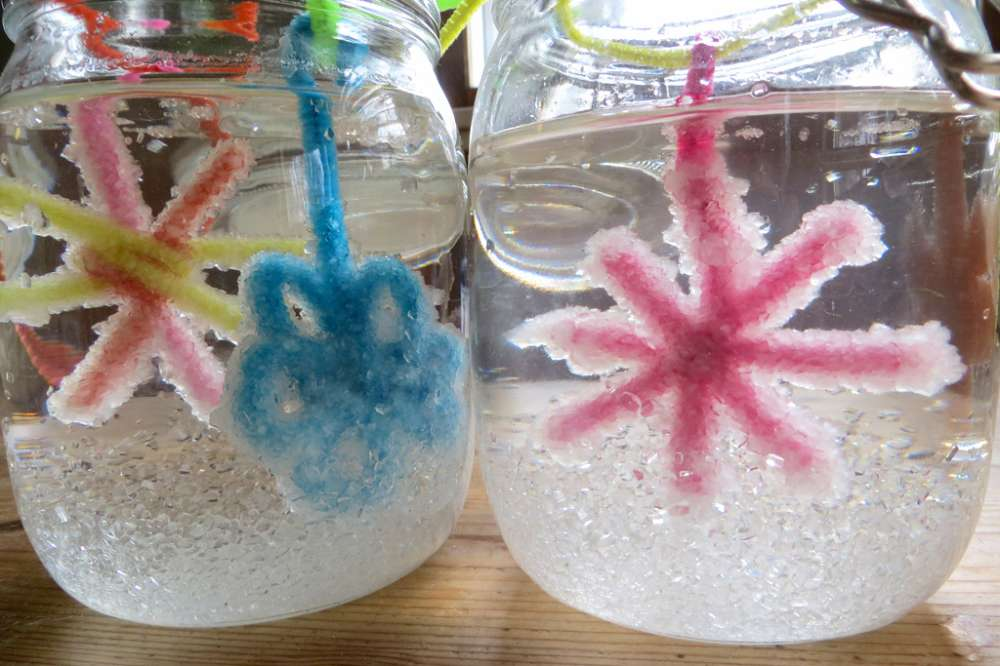
Step 6: Let the jar sit undisturbed overnight, and have your child check the experiment periodically to see what’s happening.
Step 7: Gently remove the ornament from the Borax solution and let it dry. If your child wants larger crystals, re-dissolve the Borax in the jar by heating and stirring, and repeat steps five and six.
Step 8: Have your child look at the crystals under a magnifying glass, if you have one.
The Science Behind the Fun

Everything in the world is made up of tiny pieces we call atoms. Atoms are often attached to other atoms and these connected groups of atoms are called molecules. Crystals are special groups of molecules that connect together in geometric shapes.
In this experiment, lots and lots of Borax molecules are dissolved in hot water. When the water cools, some of the Borax molecules stick to the pipe cleaners and other molecules attach onto them to form the large crystals you and your child see.
You can find more experiments like this one at kitchenpantryscientist.com, and in my books Kitchen Science Lab for Kids (Quarry Books) and Outdoor Science Lab for Kids (Quarry Books).